If you want to make any updates to the data in your Aadhar card you might need to visit the Aadhar Seva Kendra, especially if you don’t have a mobile number linked to your Aadhar card. For this, you need to book an appointment in advance.
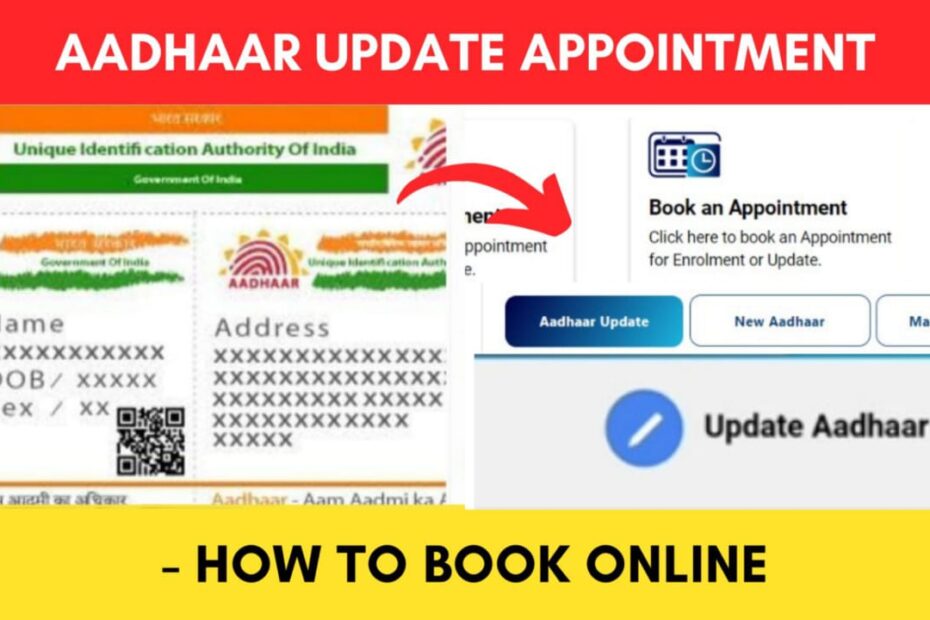
UIDAI has made it easier to book an appointment for Aadhar card updation online through their official website at uidai.gov.in.
ADVERTISEMENT
In this article, you will get to know the following points on how to book an appointment for Aadhar update online,
- Details required
- List of details that you can update on Aadhaar
- Steps to book appointment for Aadhaar update
Let’s see each of these points in detail.
Details required to book appointment for Aadhaar update online
You need a valid mobile number to book an appointment for an Aadhaar update online through the official website of UIDAI.
ADVERTISEMENT
List of details that you can update on your Aadhaar card
You can update the following details on your Aadhaar card by booking an appointment at a Aadhaar Seva Kendra,
- Name
- Address
- Mobile Number
- Email ID
- Date of Birth
- Gender
- Biometric (Photo + Fingerprints + Iris)
Steps to book appointment for Aadhaar update online
To book an appointment for Aadhaar demographic and biomatric update online,
Step 1: Go to the official myAadhaar portal
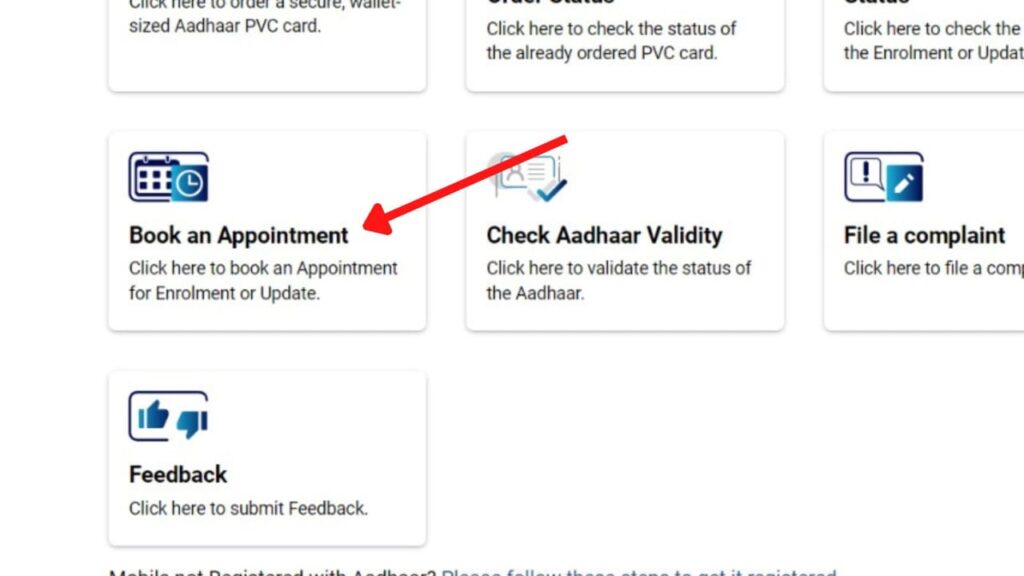
- First, go to the official website of myAadhaar at myaadhaar.uidai.gov.in.
- Next, click on the ‘Book an Appointment’ option.
- A new page will open.
Now you need to choose your Aadhaar Seva Kendra. You can select from UIDAI run Aadhaar Seva Kendra or choose the Registrar run Aadhaar Seva Kendra.
Step 2: Select the Aadhaar Seva Kendra
- Next, select the city/location under ‘Select City/Location.’ (for UIDAI run Aadhaar Seva Kendra)
- Next, click on the ‘Proceed to Book Appointment’ button.
- A new page will open.
ADVERTISEMENT
Step 3: Enter your mobile number/email ID
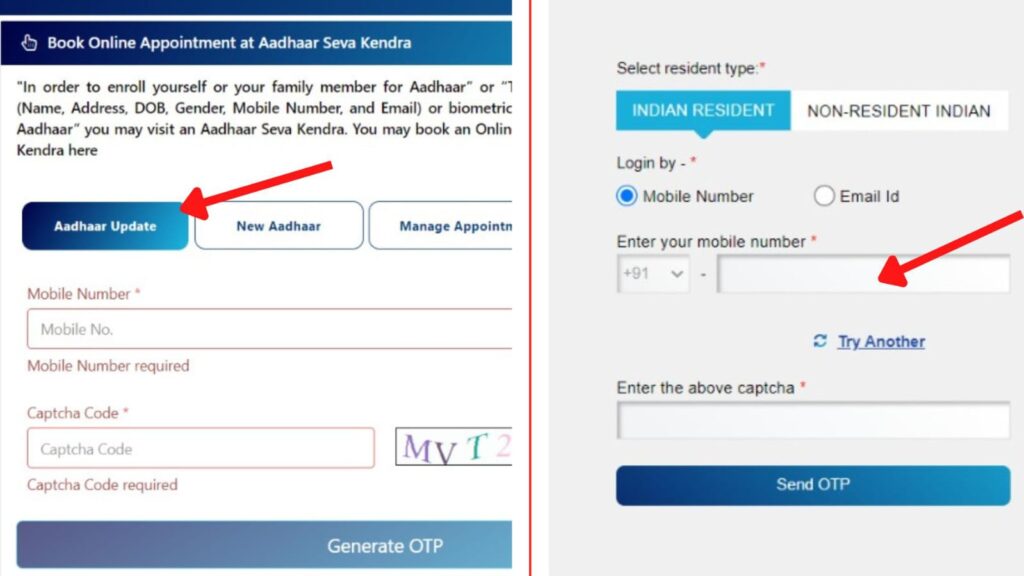
- Next, click on the ‘Aadhaar Update’ button. (for UIDAI run Aadhaar Seva Kendra)
- Next, enter your ‘Mobile Number’ or ‘Email ID’ in the specified field.
- Next, enter the ‘Captcha Code’ in the specified field and click on the ‘Generate OTP’ button.
- Next, enter the OTP received in the specified field and click on the ‘Verify OTP’ button.
- A new page will open.
Step 4: Enter your Aadhaar details
If UIDAI run Aadhaar Seva Kendra is selected:
- Next, select your ‘Resident Type’ from the options given.
- Next, enter your Aadhaar Number and ‘Name on Aadhaar Card’ in the specified field.
- Next, select the ‘Document’ under ‘Application Verification Type’.
- Next, select your State and City from the given options.
- Next, select the ‘Aadhaar Seva Kendra’ (if not already selected).
- Next, click on the ‘Next’ button.
If Registrar run Aadhaar Seva Kendra is selected:
- Now, click on the ‘Update Aadhaar’ option.
- Next, select the verification type.
- Next, enter your name and Aadhaar number.
- Next, select the ‘Resident type’ from the options given.
ADVERTISEMENT
Step 5: Select the fields you want to update
- Next, select the ‘Fields To Update’ from the given options.
- Next, enter the correct details for all the selected fields.
- Next, click on the ‘Next’ button. (or Save and Proceed button)
- A new page will open.
Step 6: Select the Date and Time Slot
If UIDAI run Aadhaar Seva Kendra is selected:
- Next, select the date and time from the specified fields.
- Next, click on the ‘Next’ button.
- A new page will open.
- All the details for the appointment that you have selected be displayed on the screen.
- Next, click on the ‘Submit’ button.
If Registrar run Aadhaar Seva Kendra is selected:
- Next, click on the ‘Book Appointment’ button.
- Next, search your Aadhaar Seva Kendra.
- Next, click on the ‘Book Appointment’ button.
- Next, select the date and time from the specified fields.
- Next, click on the ‘Submit’ button.
ADVERTISEMENT
Step 7: Complete payment
If UIDAI run Aadhaar Seva Kendra is selected:
- Next, select the ‘Payment Mode’ from the options given.
- Next, click on the ‘Make payment’ button.
- Next, complete the payment process.
- Once done, download the receipt that is displayed on the screen.
If Registrar run Aadhaar Seva Kendra is selected:
- The appointment details will be displayed on the screen.
- Next, click on the ‘Confirm’ button.
The appointment for your Aadhaar Update will be booked successfully.
You can then take a printout of your Aadhaar appointment form and payment receipt (for UIDAI run Aadhaar Seva Kendra) online.
By following these steps, you can easily book an Aadhaar appointment online for an Aadhaar update through the official website of UIDAI at uidai.gov.in.
You can also reschedule or cancel your Aadhaar appointment, if needed, through the same website.
More Aadhaar related articles
- How To Book An Appointment For Aadhar Update Online 2024
- How To Cancel Aadhaar Appointment Online (In 5 Steps) 2024

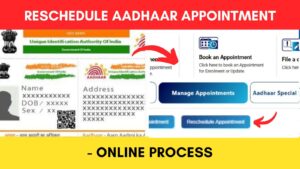
- How To Reschedule Aadhaar Appointment Online (In 5 Steps)
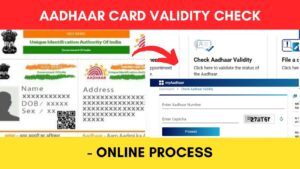
- How To Check Aadhaar Card Validity Online 2024 (In 3 Steps)
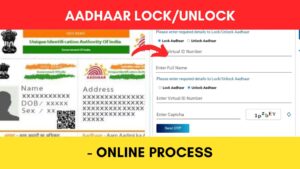
- How to Lock And Unlock Your Aadhaar Number (UID) Online 2024
- How To Retrieve Or Find Aadhar Virtual ID (VID) Online 2024

Disclaimer: The Information provided above is for educational purposes only. The images used are for representative purposes only.